Piano Songs at Melody Music Publishers

Hello fellow piano instructors! You may be wondering why you haven’t heard from me in a while. Well, I’ve put my “Tips for Teachers” videos and blogs on hold while making videos of all the piano compositions from my “Drill & Excel On the Piano” books. There is a video of each song individually as well as compilation videos. Here are the compilation videos per level for books 1-3. The videos show me playing along with the sheet music. They are now at Melody Music Publishers for viewing and for purchase. These songs in each level are useful if you need more repertoire for your student if you’re not using the “Drill & Excel on the Piano” series. Remember these are all original songs you can’t find anywhere else!
Late Beginning Level Piano Songs
Here is the video compilation for 16 late beginning songs. Each song stays within a five-note hand position in the keys of G and D. The rhythm includes quarter, half, dotted half, and whole notes and rests.

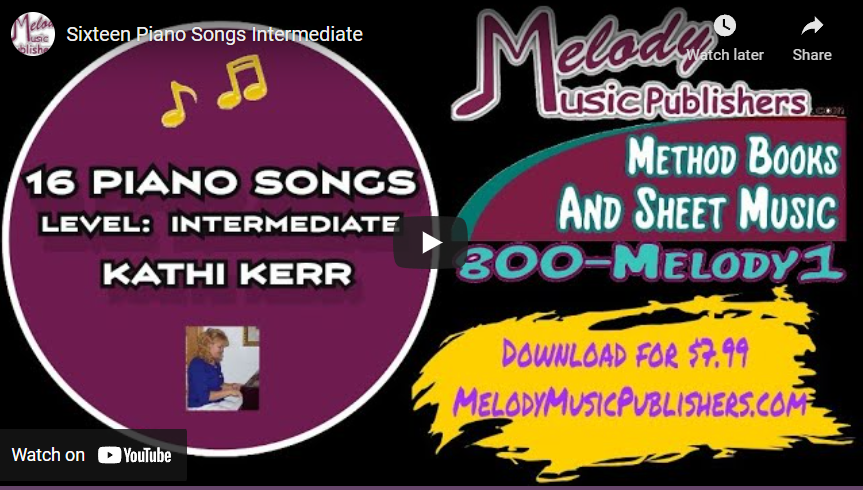
Intermediate Level Piano Songs
For the intermediate student, here is the video compilation for 16 original piano songs from books 2 and 3. Songs are in the keys of G, D, and A, and some are slightly outside the five-note hand position. Rhythm includes eighth, quarter, half, dotted half, and whole notes and rests.
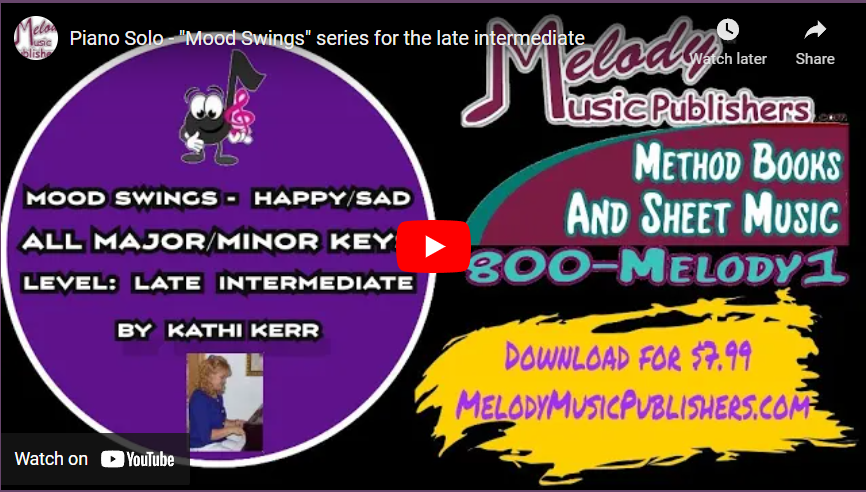
“Mood Swing” Series for the Late Intermediate Level Piano Songs
This series called “Mood Swings”, is a short song in the classical style in all the major and relative harmonic minor keys. This helps the intermediate student to be familiar with all the key signatures. The notes include all seven notes of the scale in a two octave range. Rhythm includes eighth, quarter, half, dotted half, and whole notes and rests.
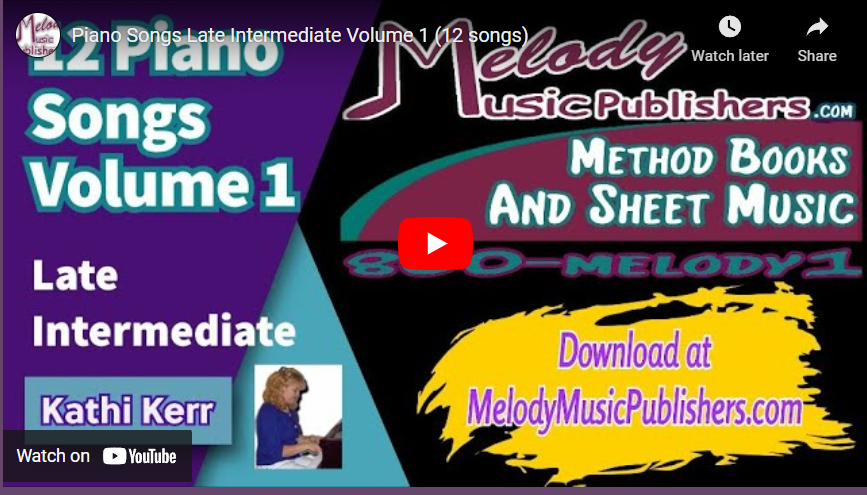
Late Intermediate Volume 1
For the late intermediate piano student, here is the first of three volumes of original songs you won’t find anywhere else! Key signatures include F, D minor, B flat, E Flat, and A, and including accidentals. There is no hand position. Rhythm includes sixteenth, eighth, quarter, dotted quarter, half, dotted half, and whole notes and rests. These songs are beautifully written to teach specific skills for the late intermediate piano student.
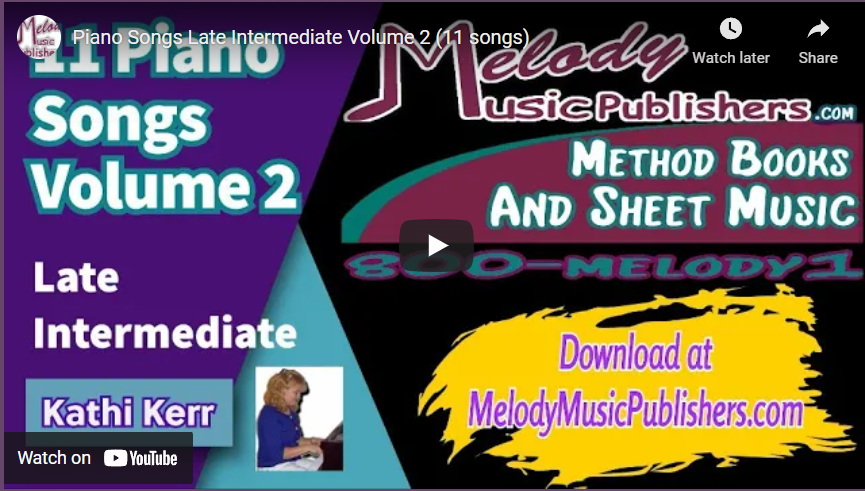
Late Intermediate Volume 2
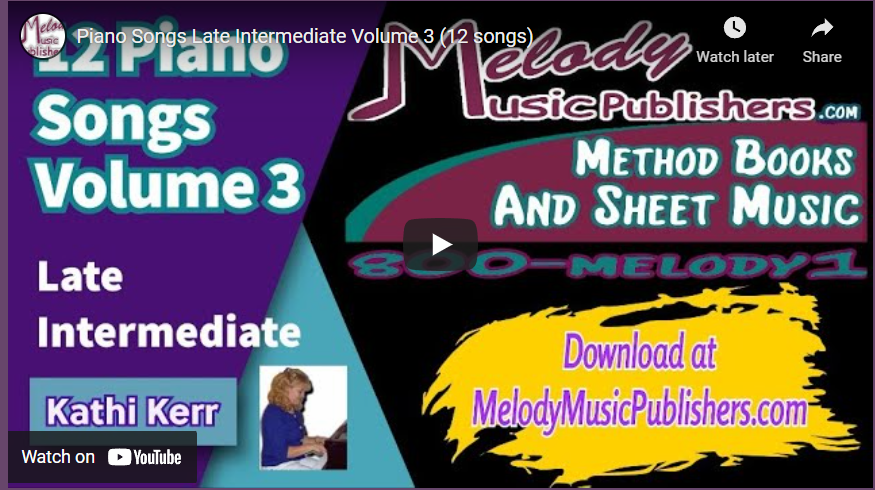
Late Intermediate Volume 3
Our Youube Channel
Want to see more videos? Please go to our Youtube channel. If you like our channel, I need your help to spread the word to others. Can you like and subscribe?
Early Advanced Level Piano Songs
The next blog will include all the songs from “Drill & Excel On the Piano Book 4” for the early advanced student. These original songs include accidentals and rhythms up to all triplets (quarter, eighth, and sixteenth).
Drill & Excel On the Piano Book 5
I’m excited to let you know that I’ll be writing book 5 to the “Drill & Excel On the Piano” series in 2022. This will be like no other book for the advanced to late advanced student. The theory will include up to an advanced theory course, and world music and theory. And once again, all songs will be original and will be written for each chapter’s skills and information taught.
Please let me know what you think! Leave your comment below so teachers can have a conversation.

- Kathi Kerr founded Melody Music Studios in 1989, a nationwide music instruction studio. In 2017, she founded an independent publishing company called Melody Music Publishers for piano and singing method books. The learning model is small steps using drills and repetition, how students think and learn.
Piano Songs at Melody Music Publishers Read More »